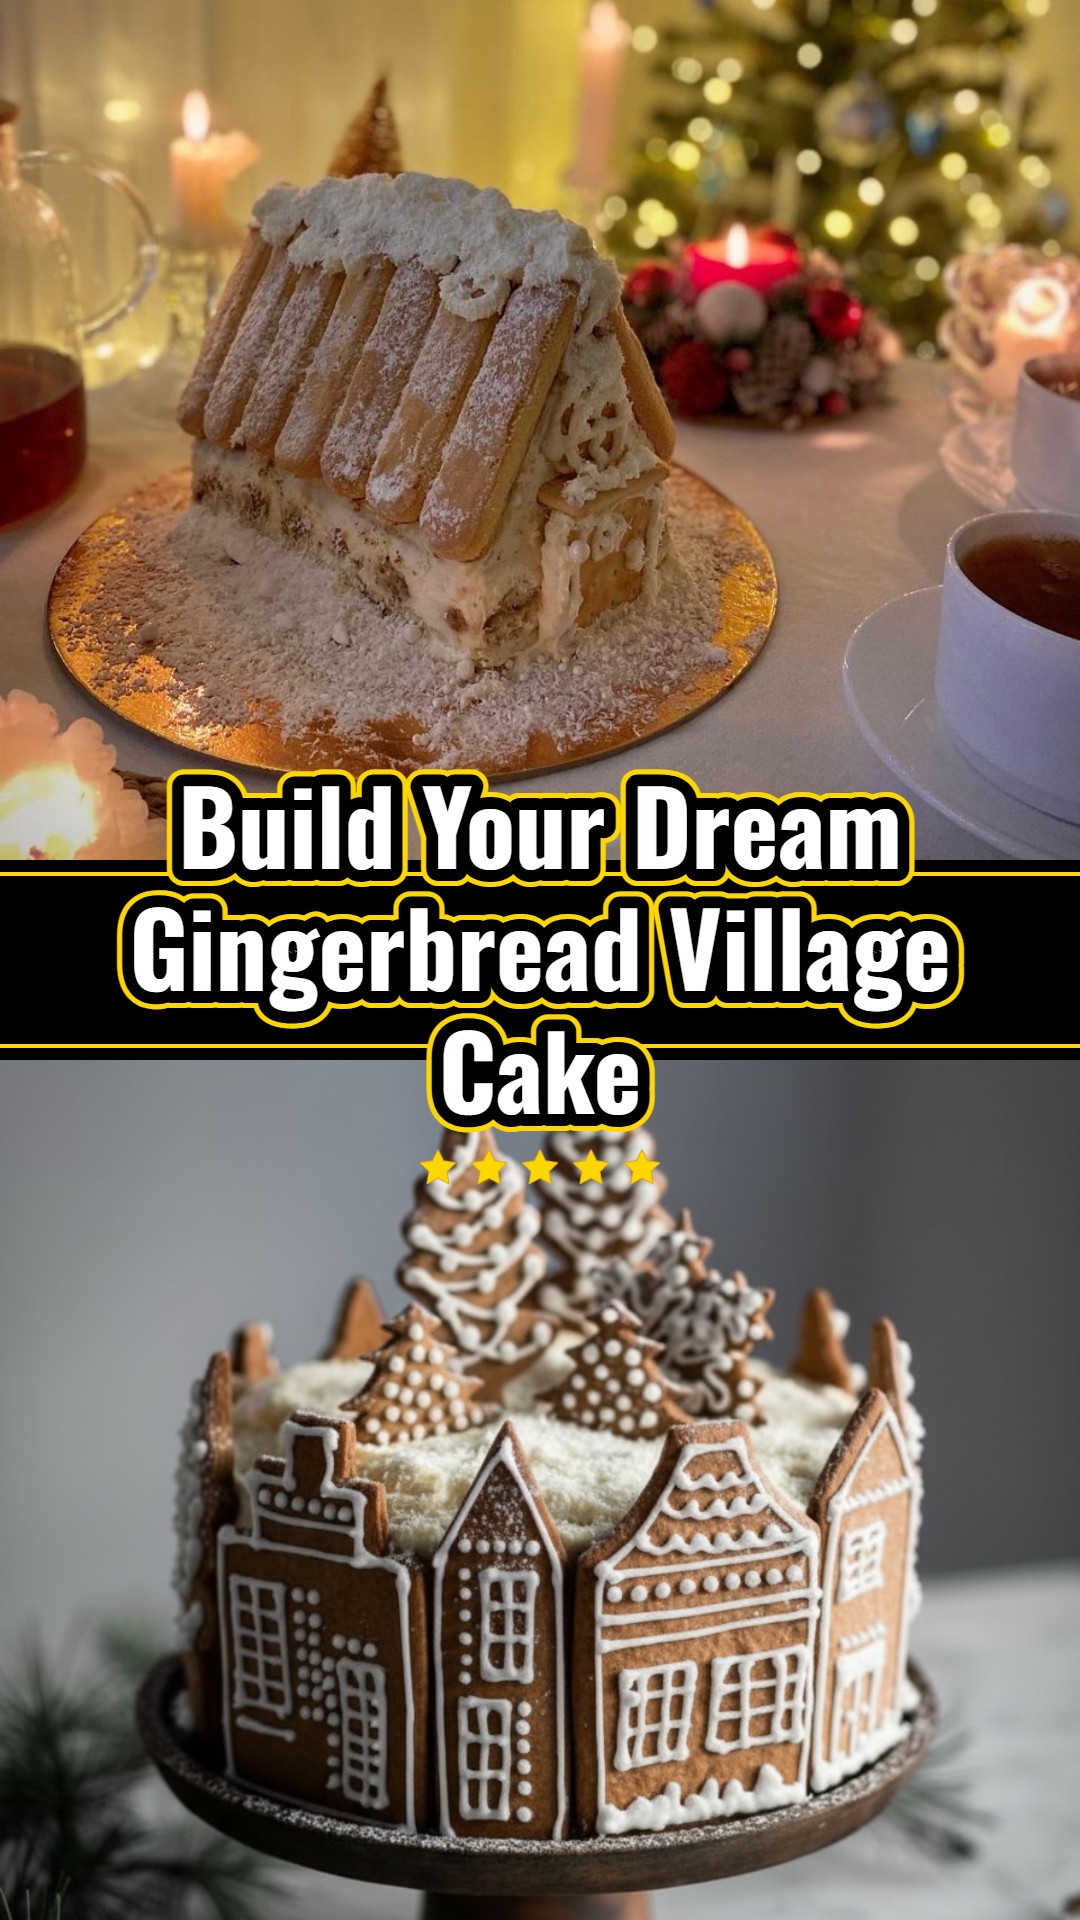
There’s something truly magical about the holiday season, and nothing says ‘festive’ quite like a homemade centerpiece that fills your home with warmth and wonder. This year, imagine the delight on your loved ones’ faces when you unveil this incredible Gingerbread Village Cake – it’s not just a dessert, it’s an edible work of art! Far more personal and charming than any store-bought offering, this recipe invites you into the joyful process of creating a delicious spiced Christmas sponge cake, then transforming it into an enchanting miniature winter wonderland. It’s perfect for home bakers who love a creative challenge and offers countless gingerbread cake decorating ideas to let your personal style shine through. Whether you’re aiming for an impressive Christmas decor cake or a heartwarming gingerbread decorated cake to share, this guide will walk you step-by-step through crafting a truly memorable holiday masterpiece. Get ready to create a cherished memory and a stunning edible landscape that will be the highlight of your festive gatherings!
Helpful Tips
- **Mastering Royal Icing Consistency**: This is the secret to beautiful gingerbread decorations! For outlining delicate details on your gingerbread houses, your icing should be thick, like toothpaste, holding its shape firmly. When it comes to ‘flooding’ larger areas like walls or roofs, thin it slightly with a few drops of water until it’s the consistency of honey, allowing it to self-level smoothly. For piping sturdy ‘snowdrifts,’ ‘icicles,’ or structural elements on the cake, keep the icing very stiff. Always add water or powdered sugar in tiny increments to achieve the perfect consistency.
- **Achieving Perfectly Flat Cake Layers**: A level foundation is crucial for an impressive cake. To prevent domed cakes, you can use cake strips around your pans, or once the cakes are baked and out of the pans (but still warm), gently place a clean kitchen towel or another flat baking sheet on top and press lightly for a few minutes. This simple trick helps create an even surface for stacking and decorating.
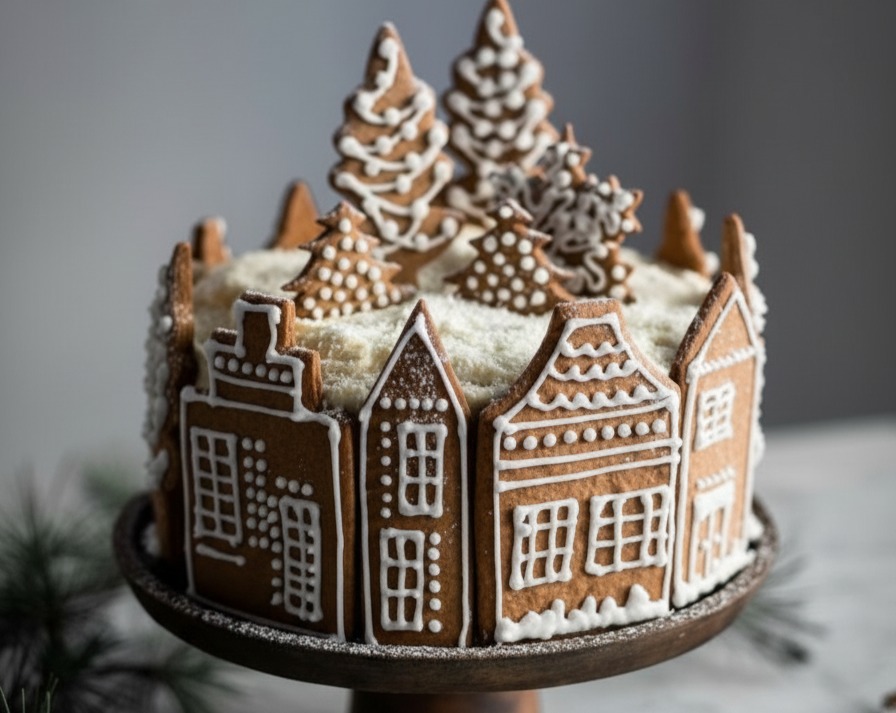
- **Plan Your Village Layout in Advance**: Before committing with icing, do a dry run! Arrange your cooled, decorated gingerbread houses, trees, and other elements on your frosted cake to visualize the scene. This allows you to experiment with different placements and ensure everything fits beautifully, creating a cohesive and charming village landscape.
- **Batch Baking & Freezing Components**: To spread out the work and reduce holiday stress, many elements can be prepared ahead. The gingerbread pieces can be baked, decorated, and stored in an airtight container at room temperature for up to a week. The spiced cake layers can be baked 1-2 days in advance, wrapped tightly in plastic wrap (and then foil if freezing), and kept at room temperature or frozen for longer storage. This makes assembly day much more enjoyable!
- **Creative Embellishments & Variations**: Beyond the basic houses, consider adding tiny gingerbread people, reindeer, or even miniature fences to your village. For extra sparkle, use edible glitter or silver dragees. You can also experiment with different candy adornments – mini M&M’s for colorful lights, pretzel sticks for logs, or crushed peppermints for a festive touch. Don’t be afraid to personalize your village!
Ingredients
- 2 ½ cups all-purpose flour
- 1 ½ teaspoons baking soda
- 1 teaspoon ground ginger
…and more!
Festive Gingerbread Village Cake Your Christmas Decor Masterpiece
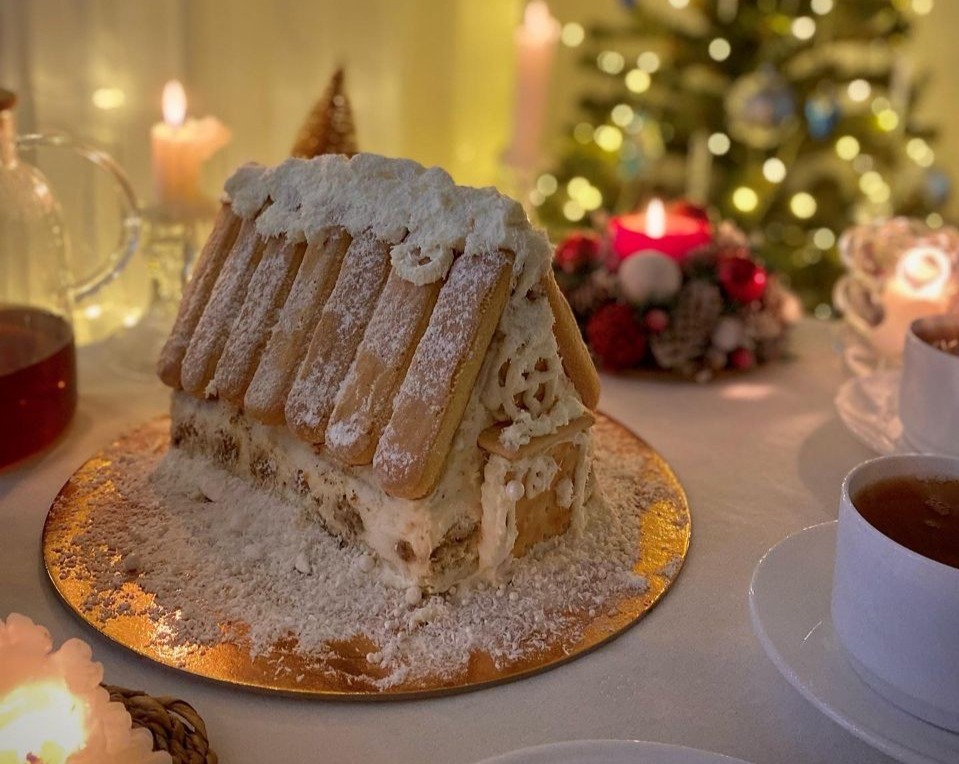
Transform your holiday table into a festive wonderland with this stunning Gingerbread Village Cake, a delightful spiced sponge masterpiece beautifully decorated with charming gingerbread houses and shimmering royal icing 'snow'.
Ingredients
- 2 ½ cups all-purpose flour
- 1 ½ teaspoons baking soda
- 1 teaspoon ground ginger
- 1 teaspoon ground cinnamon
- ½ teaspoon ground nutmeg
- ½ teaspoon ground cloves
- ¼ teaspoon salt
- 1 cup (2 sticks) unsalted butter, softened
- 1 cup packed light brown sugar
- 2 large eggs
- ½ cup molasses
- 1 cup buttermilk
- 4 large egg whites (or 1 cup meringue powder + 6 tbsp water)
- 4 cups powdered sugar, sifted
- 1 teaspoon vanilla extract
- ½ teaspoon cream of tartar (if using egg whites)
- 1 cup (2 sticks) unsalted butter, softened (for gingerbread decorations)
- 1 cup packed light brown sugar (for gingerbread decorations)
- 1 large egg (for gingerbread decorations)
- ½ cup molasses (for gingerbread decorations)
- 3 cups all-purpose flour (for gingerbread decorations)
- 2 teaspoons ground ginger (for gingerbread decorations)
- 1 teaspoon ground cinnamon (for gingerbread decorations)
- ½ teaspoon ground cloves (for gingerbread decorations)
- ½ teaspoon baking soda (for gingerbread decorations)
- ¼ teaspoon salt (for gingerbread decorations)
- Assorted candies (gumdrops, M&M's, sprinkles)
- Shredded coconut (for snow)
- Powdered sugar (for dusting)
- Christmas-themed edible toppers (optional)
Step-by-Step Instructions : . . .
To Complete Step By Step Instructions Please Head On Over To Next Page Or Open button (>)