
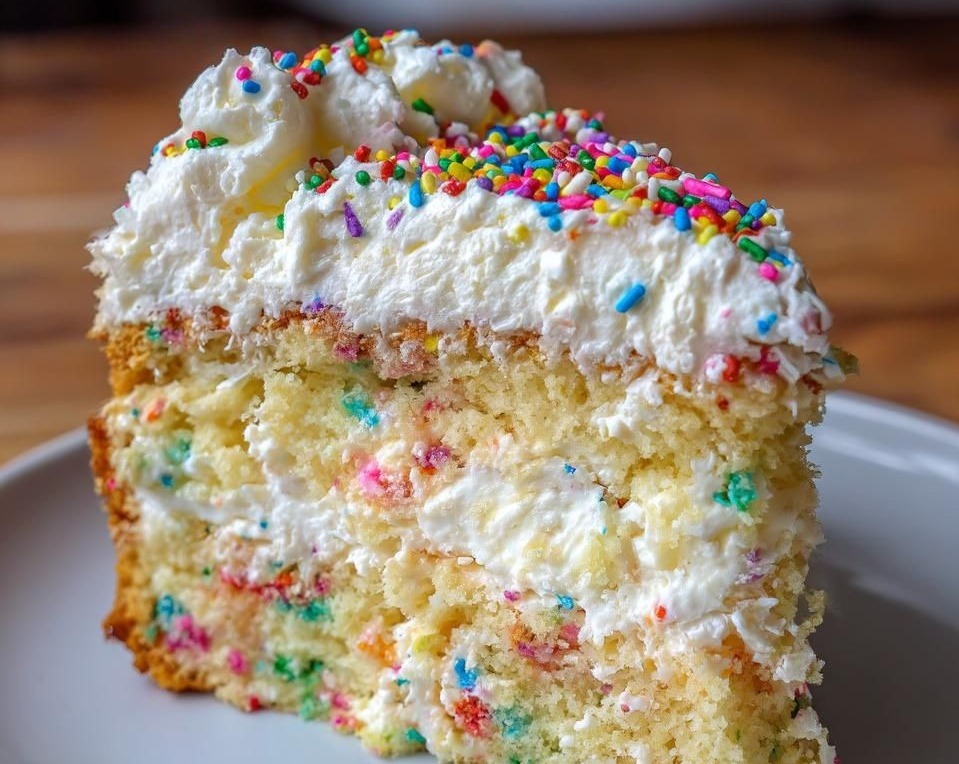
There’s an undeniable warmth that washes over us when we think of classic homemade cakes, the kind our grandmothers lovingly prepared for every special occasion. This isn’t just a cake; it’s a vibrant journey back to those cherished moments, a celebration of simple joys and timeless flavors. Our Vintage Funfetti Cake recipe captures that nostalgic essence, transforming a simple vanilla base into a riot of color and cheer, much like the antique cake recipes that have graced family tables for generations. Imagine a tender, moist crumb, infused with pure vanilla and playful sprinkles, all enrobed in a velvety smooth buttercream. It’s the perfect blend of old-world charm and festive delight, proving that some traditions are simply too sweet to ever fade. This is more than a dessert; it’s a testament to the enduring power of a truly magnificent homemade treat, designed to bring smiles and create new memories around your table.
Helpful Tips
- The Golden Rule of Room Temperature: For an incredibly smooth, lump-free batter and an exceptionally tender cake, ensure your butter, eggs, and milk are at true room temperature. Take them out of the refrigerator at least an hour before you plan to start baking. This allows them to emulsify properly, creating a uniform mixture that traps air effectively, leading to a lighter, fluffier texture. Cold ingredients can cause the batter to curdle and result in a denser cake.
- Mastering Sprinkle Integration: To prevent the vibrant colors of your rainbow sprinkles from bleeding into the batter and turning your beautiful cake a muted, muddy color, fold them in gently by hand with a rubber spatula at the very last moment. Overmixing with an electric mixer, especially if the batter is warm, can dissolve the colors. Quick, light folds are key!
- The Secret to a Moist Crumb – Don’t Overbake!: This is perhaps the most crucial tip for any cake. Ovens vary, so start checking your cake a few minutes before the recommended bake time. Insert a wooden skewer or toothpick into the center; if it comes out with a few moist crumbs attached but no wet batter, your cake is perfectly done. If it comes out completely clean, it might already be slightly overbaked. A dry cake is often an overbaked cake.
- Flavor & Texture Adventures: While classic vanilla is divine, don’t hesitate to experiment! For a bright, zesty twist, add 1-2 teaspoons of fresh lemon or orange zest to your cake batter. You can also elevate the frosting by adding a touch of almond extract alongside the vanilla for a sophisticated nuanced flavor. For extra texture, consider folding in a handful of finely chopped white chocolate chips along with the sprinkles, or a sprinkle of shredded coconut for a tropical hint.
- Achieving Professional Frosting: For a truly smooth, bakery-worthy finish, try the ‘crumb coat’ method. After your cakes are completely cool, apply a thin layer of buttercream all over the cake to trap any loose crumbs. Chill the cake in the refrigerator for 15-20 minutes until the crumb coat is firm. Then, apply your final, thicker layer of frosting smoothly and easily, achieving a beautiful finish without any crumbs showing through.
Step-by-Step Instructions
- Preheat your oven to 350°F (175°C). Grease and flour two 8-inch round cake pans, lining the bottoms with parchment paper.
- In a large bowl, whisk together the sifted all-purpose flour, granulated sugar, baking powder, and salt. Set aside.
- In a separate bowl, using an electric mixer, cream together the softened unsalted butter until light and fluffy (about 2-3 minutes).
- Add the eggs one at a time, beating well after each addition. Stir in the vanilla extract.
- Gradually add the dry ingredients to the wet ingredients in three additions, alternating with the whole milk, beginning and ending with the dry ingredients. Mix on low speed until just combined after each addition, being careful not to overmix.
- Gently fold in the rainbow sprinkles with a rubber spatula until evenly distributed. Do not overmix, as this can cause the colors to bleed.
- Divide the batter evenly between the prepared cake pans. Smooth the tops with a spatula.
- Bake for 28-32 minutes, or until a wooden skewer inserted into the center comes out clean. The cakes should be lightly golden and spring back when gently pressed.
- Let the cakes cool in the pans for 10-15 minutes before inverting them onto a wire rack to cool completely. Ensure cakes are entirely cool before frosting.
- To make the Vanilla Buttercream Frosting: In a large bowl, beat the softened unsalted butter with an electric mixer until creamy (about 2-3 minutes).
- Gradually add the sifted powdered sugar, one cup at a time, beating on low speed until combined, then increasing to medium-high. Add the vanilla extract and salt.
- With the mixer running, slowly add 2 tablespoons of heavy cream or milk until the frosting reaches a smooth, spreadable consistency. If needed, add the remaining tablespoon of cream.
- Once the cakes are completely cool, level them with a serrated knife if desired. Place one cake layer on your serving plate or cake stand. Spread about one-third of the frosting evenly over the top.
- Place the second cake layer on top and spread the remaining frosting over the top and sides of the cake. Decorate with extra sprinkles if desired.
- Slice and serve immediately, or cover and store for later enjoyment.
Ingredients
- For the Cake:
- 2 ½ cups all-purpose flour, sifted
- 1 ½ cups granulated sugar
- 1 tablespoon baking powder
- ½ teaspoon salt
- 1 cup (2 sticks) unsalted butter, softened
- 4 large eggs, room temperature
- 1 tablespoon pure vanilla extract
- 1 cup whole milk, room temperature
- ½ cup rainbow sprinkles
- For the Vanilla Buttercream Frosting:
- 1 cup (2 sticks) unsalted butter, softened
- 4 cups powdered sugar, sifted
- 2-3 tablespoons heavy cream or milk
- 1 teaspoon pure vanilla extract
- Pinch of salt
- Extra sprinkles for decoration (optional)
Grandma's Vintage Funfetti Cake Classic Old Fashioned Homemade Recipe
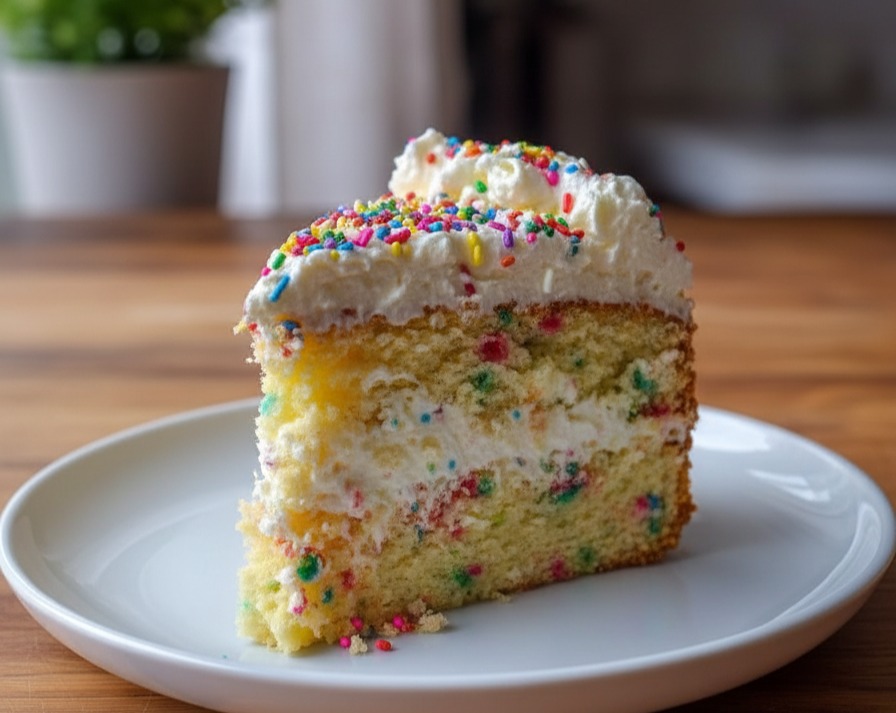
Relive cherished memories with this beloved vintage Funfetti cake, featuring a tender vanilla crumb studded with bright sprinkles, all crowned with a luscious, creamy homemade buttercream.
Ingredients
- For the Cake:
- 2 ½ cups all-purpose flour, sifted
- 1 ½ cups granulated sugar
- 1 tablespoon baking powder
- ½ teaspoon salt
- 1 cup (2 sticks) unsalted butter, softened
- 4 large eggs, room temperature
- 1 tablespoon pure vanilla extract
- 1 cup whole milk, room temperature
- ½ cup rainbow sprinkles
- For the Vanilla Buttercream Frosting:
- 1 cup (2 sticks) unsalted butter, softened
- 4 cups powdered sugar, sifted
- 2-3 tablespoons heavy cream or milk
- 1 teaspoon pure vanilla extract
- Pinch of salt
- Extra sprinkles for decoration (optional)
Instructions
- Preheat your oven to 350°F (175°C). Grease and flour two 8-inch round cake pans, lining the bottoms with parchment paper.
- In a large bowl, whisk together the sifted all-purpose flour, granulated sugar, baking powder, and salt. Set aside.
- In a separate bowl, using an electric mixer, cream together the softened unsalted butter until light and fluffy (about 2-3 minutes).
- Add the eggs one at a time, beating well after each addition. Stir in the vanilla extract.
- Gradually add the dry ingredients to the wet ingredients in three additions, alternating with the whole milk, beginning and ending with the dry ingredients. Mix on low speed until just combined after each addition, being careful not to overmix.
- Gently fold in the rainbow sprinkles with a rubber spatula until evenly distributed. Do not overmix, as this can cause the colors to bleed.
- Divide the batter evenly between the prepared cake pans. Smooth the tops with a spatula.
- Bake for 28-32 minutes, or until a wooden skewer inserted into the center comes out clean. The cakes should be lightly golden and spring back when gently pressed.
- Let the cakes cool in the pans for 10-15 minutes before inverting them onto a wire rack to cool completely. Ensure cakes are entirely cool before frosting.
- To make the Vanilla Buttercream Frosting: In a large bowl, beat the softened unsalted butter with an electric mixer until creamy (about 2-3 minutes).
- Gradually add the sifted powdered sugar, one cup at a time, beating on low speed until combined, then increasing to medium-high. Add the vanilla extract and salt.
- With the mixer running, slowly add 2 tablespoons of heavy cream or milk until the frosting reaches a smooth, spreadable consistency. If needed, add the remaining tablespoon of cream.
- Once the cakes are completely cool, level them with a serrated knife if desired. Place one cake layer on your serving plate or cake stand. Spread about one-third of the frosting evenly over the top.
- Place the second cake layer on top and spread the remaining frosting over the top and sides of the cake. Decorate with extra sprinkles if desired.
- Slice and serve immediately, or cover and store for later enjoyment.
Shopping List
- Dairy & Eggs: 2 cups (4 sticks) unsalted butter, 4 large eggs, 1 cup whole milk, 2-3 tablespoons heavy cream or milk
- Pantry: 2 ½ cups all-purpose flour, 1 ½ cups granulated sugar, 1 tablespoon baking powder, ½ teaspoon salt, 4 cups powdered sugar, 2 tablespoons pure vanilla extract, ½ cup rainbow sprinkles, extra sprinkles for decoration (optional)
Equipment Needed
- Two 8-inch round cake pans
- Parchment paper
- Mixing bowls
- Electric mixer (stand or hand-held)
- Measuring cups and spoons
- Rubber spatula
- Whisk
- Wire rack
- Offset spatula or butter knife
Variations & Serving Ideas
This charming Vintage Funfetti Cake is a showstopper on its own, but you can elevate the experience even further! Serve generous slices on your prettiest dessert plates, perhaps accompanied by a dollop of freshly whipped cream, a scoop of your favorite homemade vanilla bean ice cream, or a vibrant medley of fresh berries like raspberries and blueberries for a touch of elegance. For that final ‘wow’ factor, always finish with a fresh scattering of extra rainbow sprinkles just before serving. Any leftover cake, if there’s any left to begin with, stores beautifully in an airtight container at room temperature for up to 3 days, or in the refrigerator for up to 5 days. For longer indulgence, individual slices wrap well and can be frozen for up to a month; simply thaw at room temperature before enjoying a sweet trip down memory lane.
I truly hope this Classic Old Fashioned Funfetti Cake brings a sprinkle of joy and a wave of nostalgia to your kitchen, just as it does to ours at Maria Cortes Recipes. There’s something incredibly satisfying about baking a beautiful vintage cake from scratch, and this recipe is a testament to those beloved traditions. Please don’t hesitate to share your own baking stories or tips in the comments below – I love hearing from you! Happy baking, and may your celebrations be extra sweet! #OldFashionedCakes #OldFashionCakes #ClassicVintageCakeRecipes #AntiqueCakeRecipes #VintageCakeRecipesHomemade #VintageCakeAndDessertRecipes #VintageCakeRecipesGrandmothers #VintageCakeRecipes